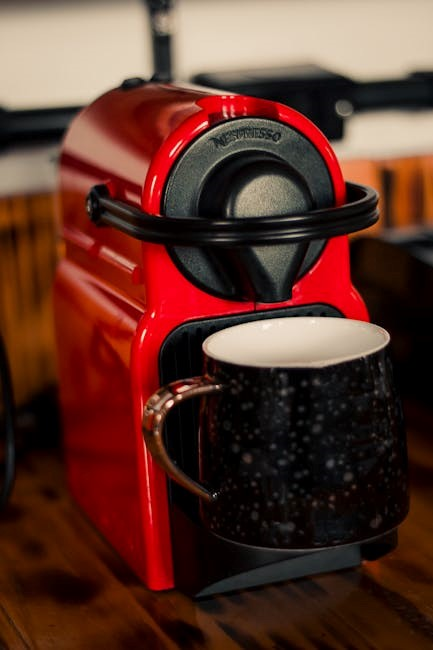
farberware coffee maker instructions
Farberware coffee makers, particularly percolators, offer a classic brewing experience, though debated by modern coffee enthusiasts․
Understanding the components – cover, handles, spigot, and indicator lights – is key to operation․
From stainless steel urns to dual brew models, Farberware provides diverse options for coffee preparation․
Brief History of Farberware
Farberware’s story began in 1900 with Jacob and Simon Farber, initially selling tinware․ They quickly gained recognition for durable, quality kitchenware, evolving into a household name․
The iconic percolator, introduced later, cemented Farberware’s reputation․ These percolators became synonymous with American kitchens for decades, offering a robust, traditional coffee brewing method․
While modern brewing techniques like pour-over and French press gained popularity, Farberware continued innovating, introducing new coffee makers alongside their classic designs․ Today, the brand balances its heritage with contemporary appliances, including Keurig-compatible machines and dual brew options, demonstrating a commitment to adapting to evolving consumer preferences while maintaining its legacy of quality and durability․
Types of Farberware Coffee Makers Available
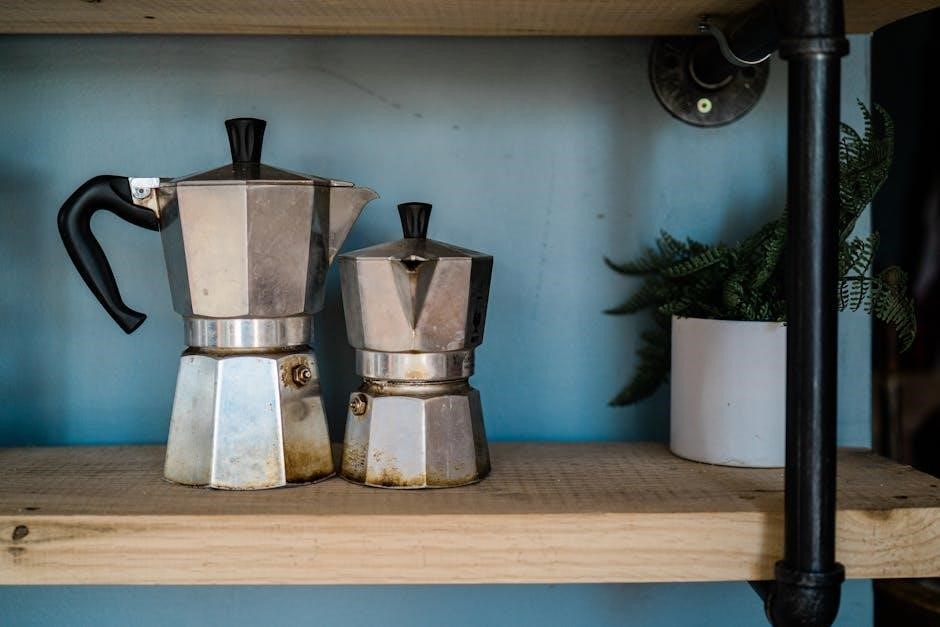
Farberware offers a range of coffee makers catering to diverse preferences․ The classic stainless steel percolator remains a popular choice, known for its robust brewing and nostalgic appeal․
Beyond percolators, Farberware produces automatic drip coffee makers, including dual brew models capable of both drip and single-serve functionality․ These often feature programmable settings for convenience․
Furthermore, Farberware participates in the single-serve market with Keurig-compatible machines, like the K-express Essentials, offering quick and convenient brewing․ Options are also available through retailers like Walmart, including non-Farberware manufactured K-Cup machines․ The brand’s product line demonstrates a commitment to providing both traditional and modern coffee brewing solutions․
Understanding Your Farberware Coffee Maker Parts
Farberware coffee makers consist of key parts: the cover, handles, body, spigot, indicator light, cord, basket, spring, pump tube, and washer․
Cover and Lid Mechanisms
Farberware coffee maker covers and lids are designed for secure closure during the percolation process․ The cover typically features tabs that align with corresponding slots on the coffee maker’s body, ensuring a tight seal․ This seal is crucial for maintaining consistent temperature and preventing steam from escaping prematurely․
Properly seating the cover is essential for optimal performance․ Ensure the tabs are fully engaged before initiating the brewing cycle․ Some models may have a slightly different lid design, but the principle of a secure fit remains consistent․ Inspect the cover regularly for any damage or warping that could compromise the seal․ A damaged cover may lead to uneven brewing or potential safety hazards․
Always allow the coffee maker to cool down before attempting to remove the cover after brewing, to avoid burns․
Handles and Body Construction
Farberware coffee makers boast robust handles designed for safe and comfortable pouring, even when the unit is full․ These handles are securely attached to the body, typically constructed from durable materials like stainless steel or heat-resistant polymers․ The body itself is often crafted from stainless steel, providing excellent heat retention and resistance to corrosion․
The construction prioritizes stability during operation․ Inspect the handles periodically to ensure they remain firmly affixed and show no signs of loosening․ A solid connection between the handle and body is vital to prevent accidents․ The seamless body construction minimizes potential leak points and simplifies cleaning․
Avoid applying excessive force to the handles, as this could potentially damage the attachment points over time․
Indicator Lights and Their Meanings
Farberware coffee makers utilize indicator lights to communicate the brewing process status․ Typically, a solid light signifies the unit is actively heating or percolating․ A flashing light often indicates the coffee is being kept warm after the brewing cycle is complete․ However, specific light patterns can vary between models, so consulting your user manual is crucial․
If the indicator light doesn’t illuminate, verify the coffee maker is properly plugged in and the power outlet is functioning․ A consistently lit, but non-functioning, light might suggest an internal electrical issue requiring professional attention․ Understanding these signals ensures optimal brewing and safe operation․
Pay close attention to any unusual light behavior, as it could indicate a potential problem․
Spigot Operation and Maintenance
The Farberware coffee maker spigot is designed for smooth, drip-free pouring․ To operate, gently press the lever to dispense coffee․ Avoid forcing the lever, as this could damage the internal mechanism․ Regular cleaning is vital to prevent clogging and ensure consistent flow․
Mineral buildup can obstruct the spigot, leading to drips or a slow pour․ To address this, periodically disassemble the spigot (refer to your manual for specific instructions) and soak the components in a descaling solution or vinegar․ Rinse thoroughly before reassembling․
Inspect the washer within the spigot regularly for wear and tear, replacing it if necessary to maintain a tight seal․
Cord and Power Supply Information
Your Farberware coffee maker operates on standard household electrical power․ Ensure the voltage matches the appliance’s requirements, typically 120V․ Before use, inspect the power cord for any signs of damage – cracks, fraying, or exposed wires․ A damaged cord presents a safety hazard and should not be used․
Avoid using extension cords whenever possible․ If one is necessary, select a heavy-duty cord rated to handle the coffee maker’s wattage․ Never run the cord under rugs, near heat sources, or where it could be tripped over․
Always unplug the coffee maker from the outlet when not in use, before cleaning, and during maintenance․ Proper cord care extends the life of your appliance and ensures safe operation․
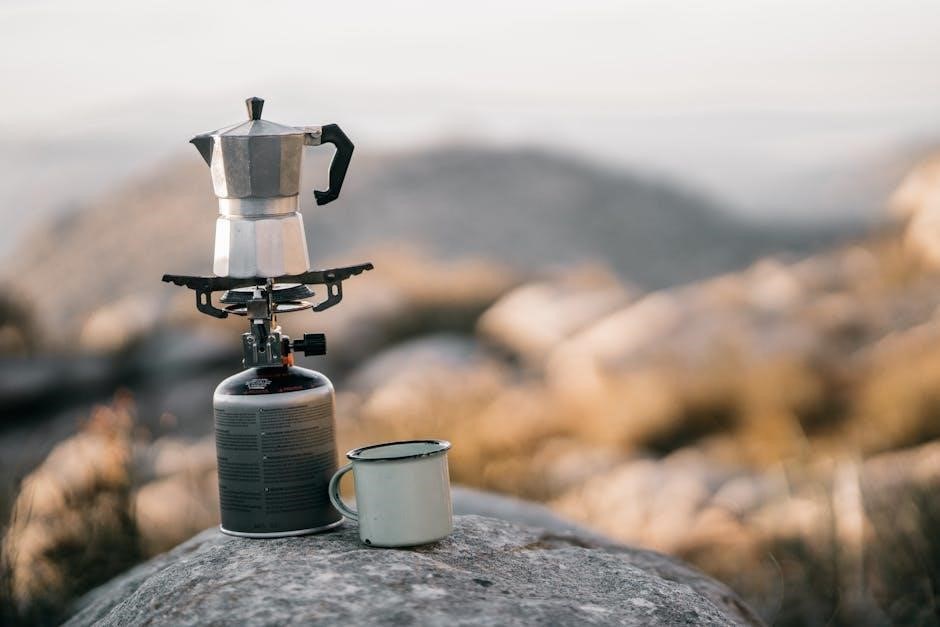
Using Your Farberware Percolator Coffee Maker
Farberware percolators require initial washing before use․ Proper coffee ground to water ratios are crucial, and the percolation process delivers a robust brew․
Initial Cleaning and Preparation
Before your first brew with your Farberware percolator, a thorough cleaning is essential․ Begin by disassembling the removable parts – the basket, spring, and spigot – and washing them with warm, soapy water․ Rinse completely to remove any residue․
Next, wash the coffee urn itself, both inside and out, using the same method․ Pay close attention to the interior, ensuring no manufacturing oils or dust remain․ A gentle scrub with a non-abrasive sponge is recommended to avoid scratching the stainless steel․
After washing, rinse the urn several times with clean water․ Finally, it’s beneficial to run a full brewing cycle with just water – no coffee grounds – to further cleanse the system and prepare it for optimal performance․ This initial preparation ensures a pure coffee flavor from the very first pot․
Coffee Grounds and Water Ratio
Achieving the perfect brew with your Farberware percolator hinges on the correct coffee-to-water ratio․ While personal preference plays a role, a general guideline is one to two tablespoons of ground coffee per six ounces of water․
For a standard 12-cup percolator, this translates to approximately 24-48 tablespoons (or ¾ to 1 ½ cups) of coffee grounds․ It’s often recommended to start with a lower ratio and adjust to taste․
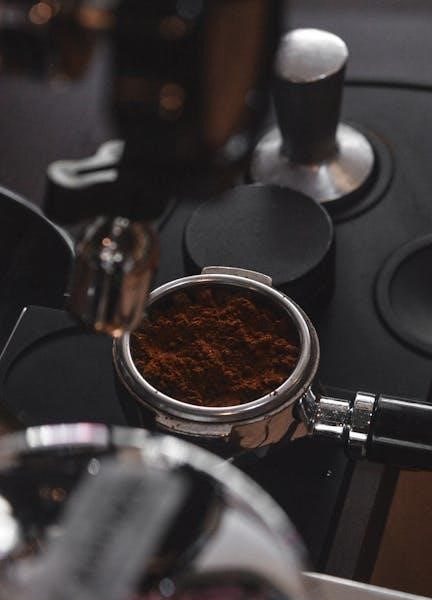
Crucially, the quality of the coffee grounds matters․ Many suggest using freshly ground beans from a local roaster for superior flavor, avoiding pre-ground or store-brand options․ Coarser grounds are generally preferred for percolators to prevent them from passing through the basket․
Percolation Process Explained
The Farberware percolator operates by repeatedly cycling boiling water through coffee grounds․ Water heats in the base, rises through a pump tube, and showers over the coffee basket․ This brewed coffee then drips back into the reservoir, continuing the cycle․
The indicator light signals when the percolation process is complete, though some prefer to cycle it for a specific duration based on desired strength․ It’s important to note that percolators brew at a higher temperature than other methods, potentially leading to a slightly more bitter taste․
The spring and washer within the basket ensure proper water distribution․ Regular cleaning of these components is vital for optimal performance and flavor․
Farberware Coffee Maker Troubleshooting
Common issues include indicator light malfunctions and spigot leaks․ Addressing these promptly ensures continued use, maintaining the quality of your brewed coffee․
Common Issues and Solutions
If your Farberware coffee maker isn’t brewing, first ensure the unit is properly plugged in and the power supply is functioning․ A frequently encountered problem involves the pump tube or washer becoming clogged, hindering water circulation․ Inspect and clean these components thoroughly․
Spigot leaks are another common concern․ Check the spigot’s washer for wear and tear; replacement is often a simple fix․ If the indicator light isn’t illuminating, verify the bulb (if applicable) or consult the manual for electronic troubleshooting steps․
For percolators, ensure the basket and spring are correctly positioned․ Remember, r/coffee may strongly advise against percolators, preferring alternative brewing methods, but proper maintenance extends the life of your chosen appliance!
Addressing Indicator Light Problems
A non-illuminating indicator light on your Farberware coffee maker can signal several issues․ First, confirm the unit is securely plugged into a functioning power outlet․ If the light remains off, consult your user manual for specifics regarding bulb replacement – some models utilize standard bulbs, while others have integrated LED systems․
For models with electronic controls, a faulty sensor or control board might be the culprit․ Inspect the wiring for any visible damage․ If the light flickers or behaves erratically, this could indicate a loose connection or a failing component․
Remember to unplug the coffee maker before attempting any internal inspection․ If troubleshooting proves unsuccessful, professional repair or replacement may be necessary․
Spigot Leaks and How to Fix Them
Spigot leaks in your Farberware coffee maker are a common issue, often stemming from a worn or damaged washer․ Begin by carefully disassembling the spigot, noting the order of components – typically including the spigot itself, a washer, and potentially a spring or retaining clip․
Inspect the washer for cracks, tears, or general deterioration․ Replace it with a new washer of the correct size and material․ Ensure the spigot threads are clean and free of debris before reassembly․
If the leak persists after washer replacement, examine the spigot body for any damage or corrosion․ Tighten the spigot securely, but avoid over-tightening, which could cause further damage․
Cleaning and Maintenance
Regular cleaning is vital for optimal performance․ Daily washing and periodic descaling prevent mineral buildup, ensuring fresh-tasting coffee and extending the lifespan of your Farberware maker․
Daily Cleaning Procedures
After each use, disconnect your Farberware coffee maker from the power supply and allow it to cool completely; Remove the coffee basket, spring, and any remaining coffee grounds․ Wash these components with warm, soapy water, ensuring all residue is removed․
The coffee urn itself should be washed with warm, soapy water as well․ Pay close attention to the spigot, as coffee oils can accumulate here․ Rinse thoroughly to eliminate any soap residue․ The exterior of the coffee maker can be wiped down with a damp cloth․
Avoid using abrasive cleaners or scouring pads, as these can damage the stainless steel finish․ Ensure all parts are completely dry before reassembling the coffee maker; Proper daily cleaning contributes significantly to the longevity and performance of your Farberware appliance․
Descaling Your Coffee Maker
Over time, mineral deposits from water can build up inside your Farberware coffee maker, affecting its performance․ Descaling removes these deposits․ Fill the urn with a mixture of equal parts white vinegar and water;
Run a full brewing cycle without coffee grounds․ Afterward, discard the vinegar solution and run two to three cycles with fresh water to rinse thoroughly, ensuring no vinegar taste remains․ The frequency of descaling depends on water hardness; monthly is recommended for hard water areas․
Regular descaling maintains optimal brewing temperature and coffee flavor․ Ignoring this step can lead to reduced efficiency and a shorter lifespan for your coffee maker․ A clean machine brews better coffee!
Long-Term Storage Instructions
Preparing your Farberware coffee maker for extended storage requires careful steps․ First, ensure the unit is completely clean and dry, including a thorough descaling as previously described․ Remove any remaining coffee grounds or residue from the basket and all internal components․
Detach any removable parts, like the spigot, and store them separately in a dry place to prevent corrosion․ Wrap the coffee maker in a dust cover or plastic bag to protect it from dust and debris; Store in a cool, dry environment, away from direct sunlight and extreme temperatures․
Avoid stacking heavy items on top of the coffee maker during storage․
Related Posts

perdue chicken strips cooking instructions
Craving delicious Purdue chicken strips? We’ve got the *ultimate* guide to cooking them to golden, crispy perfection – oven, air fryer, or skillet! Get cooking now!

what instructional coaching is and is not
Discover the ins and outs of instructional coaching! Learn how it transforms teaching and student learning with expert strategies and practical tips.
tyson chicken nuggets cooking instructions
Learn how to cook Tyson chicken nuggets perfectly every time! Get quick, easy, and delicious cooking instructions here.